Naked Chicken Chalupa

Using meat glue to make Taco Bell’s naked chicken chalupa
I got a lot of requests for it, so I decided to try my hand at the naked chicken chalupa from Taco Bell. I hadn’t had one of these before you guys asked for it, so I went out and got one to try. For those who have never had one, it’s a “taco”, [I know it’s technically a chalupa], but instead of using a tortilla for the shell, the tortilla is just a chicken breast.
It was honestly OK, but I think we can definitely improve it a little, and the version I ended up with was tasty, juicy, and crisp. Hey Taco Bell, hit me up if you wanna collab!
So, let’s make essentially what amounts to a chicken sandwich sans the bun. And in doing so, I’ll have the chance to experiment with some meat glue!
INGREDIENTS:
500g or 1 lb boneless skinless chicken thighs
3g salt
transglutaminase meat glue
water
3 jalapenos
bunch of cilantro
2 limes
1 avocado
1 1/4 cups ranch
cheddar cheese
tomatoes
lettuce
1 tsp garlic powder
1 tsp onion powder
2 tsps chilli powder
1/2 tsp cumin
1/4 tsp msg
1 cup all purpose flour
3 eggs
vegetable oil
grind up the chicken
Alright, so as I hinted at, the “taco” is made of a giant chicken nugget, instead of a cornmeal or flour shell. So, let’s start this recipe by making some giant chicken nuggs.
To do this, I am going to grind up 500 grams, or about 1 pound, boneless skinless chicken thighs, which yielded 6 chalupas. I really think the chicken thighs have a lot more flavor than the breasts, which is why I am using them, but your results won’t be too far off if you decide to use the white meat.
Now, I am just going to grind up my meat in a food processor. You could use a nice meat grinder if you have one, but for a recipe like this, we don’t need to go overkill. The meat paste I ended up with was more than adequate. We do want to season the chicken - I added 3 grams of salt into the processor with the chicken and just blended that together.

get gluey
As I mentioned earlier, I wanted to use this opportunity to experiment with a substance that is affectionately called meat glue. This stuff is mostly comprised of transglutaminase, which binds proteins together to create a much more uniform texture. It may sound scary, but if you have ever had imitation crab, or even Mcdonald’s chicken nuggets, you have definitely had this stuff before.

I really wanted to know how much of an effect this “glue” had, so I split the batch of ground chicken in two; one with the meat glue and one without. If you don’t want to, or can’t obtain the meat glue, I will go ahead and spoil the ending for you: *not including meat glue still produced a pretty awesome chalupa!
For the version which doesn’t have meat glue, it’s done for now and we can set it off to the side. For the version which does contain the transglutaminase, just follow the instructions; for me, it says to add 1% of the total weight of the meat, and 4% of water to that.
Mix the water and meat glue until it becomes a slurry, and mix this into the ground meat.
form the patties
Now it comes to the time to form the ground meat. To do this, I am going to recommend an old saying from Chef John of Food Wishes; wet hands make smooth balls. In other words, forming meat with wet hands will go a lot smoother. In my YouTube video of this recipe, you will see me trying to form the patties with dry hands, and again forming the ground meat with wet hands which works so much better. I recommend having a bowl you can dip your hands into between patties.
Thin-ish patties work best here. I was able to get 3 meat glue patties, and 3 non-glue patties. Don’t fret too much about the roundness of the patties - it didn’t really seem to make that big of a difference in the end.
In order not to lose track of which patty was which, I just used a fork to mark the top of the non-gluey patties. I then placed all patties in the freezer for an hour, until completely frozen.

Make the sauce
While the patties freeze, let’s make the special sauce that Taco Bell uses on their chalupas, which is an avocado ranch.
For this, I am going to start by chopping off the tops of 3 jalapenos (adjust to your spice level accordingly), and toss them into a food processor. Next, cut off the top of a bunch of cilantro and toss that in too, as well as the juice from 2 limes, and a whole avocado. Lastly, we want to add about 1 1/4 cups of definitely homemade and not store-bought ranch. JK. However, if you do want to make your own ranch, check out my video on that from about a month ago.
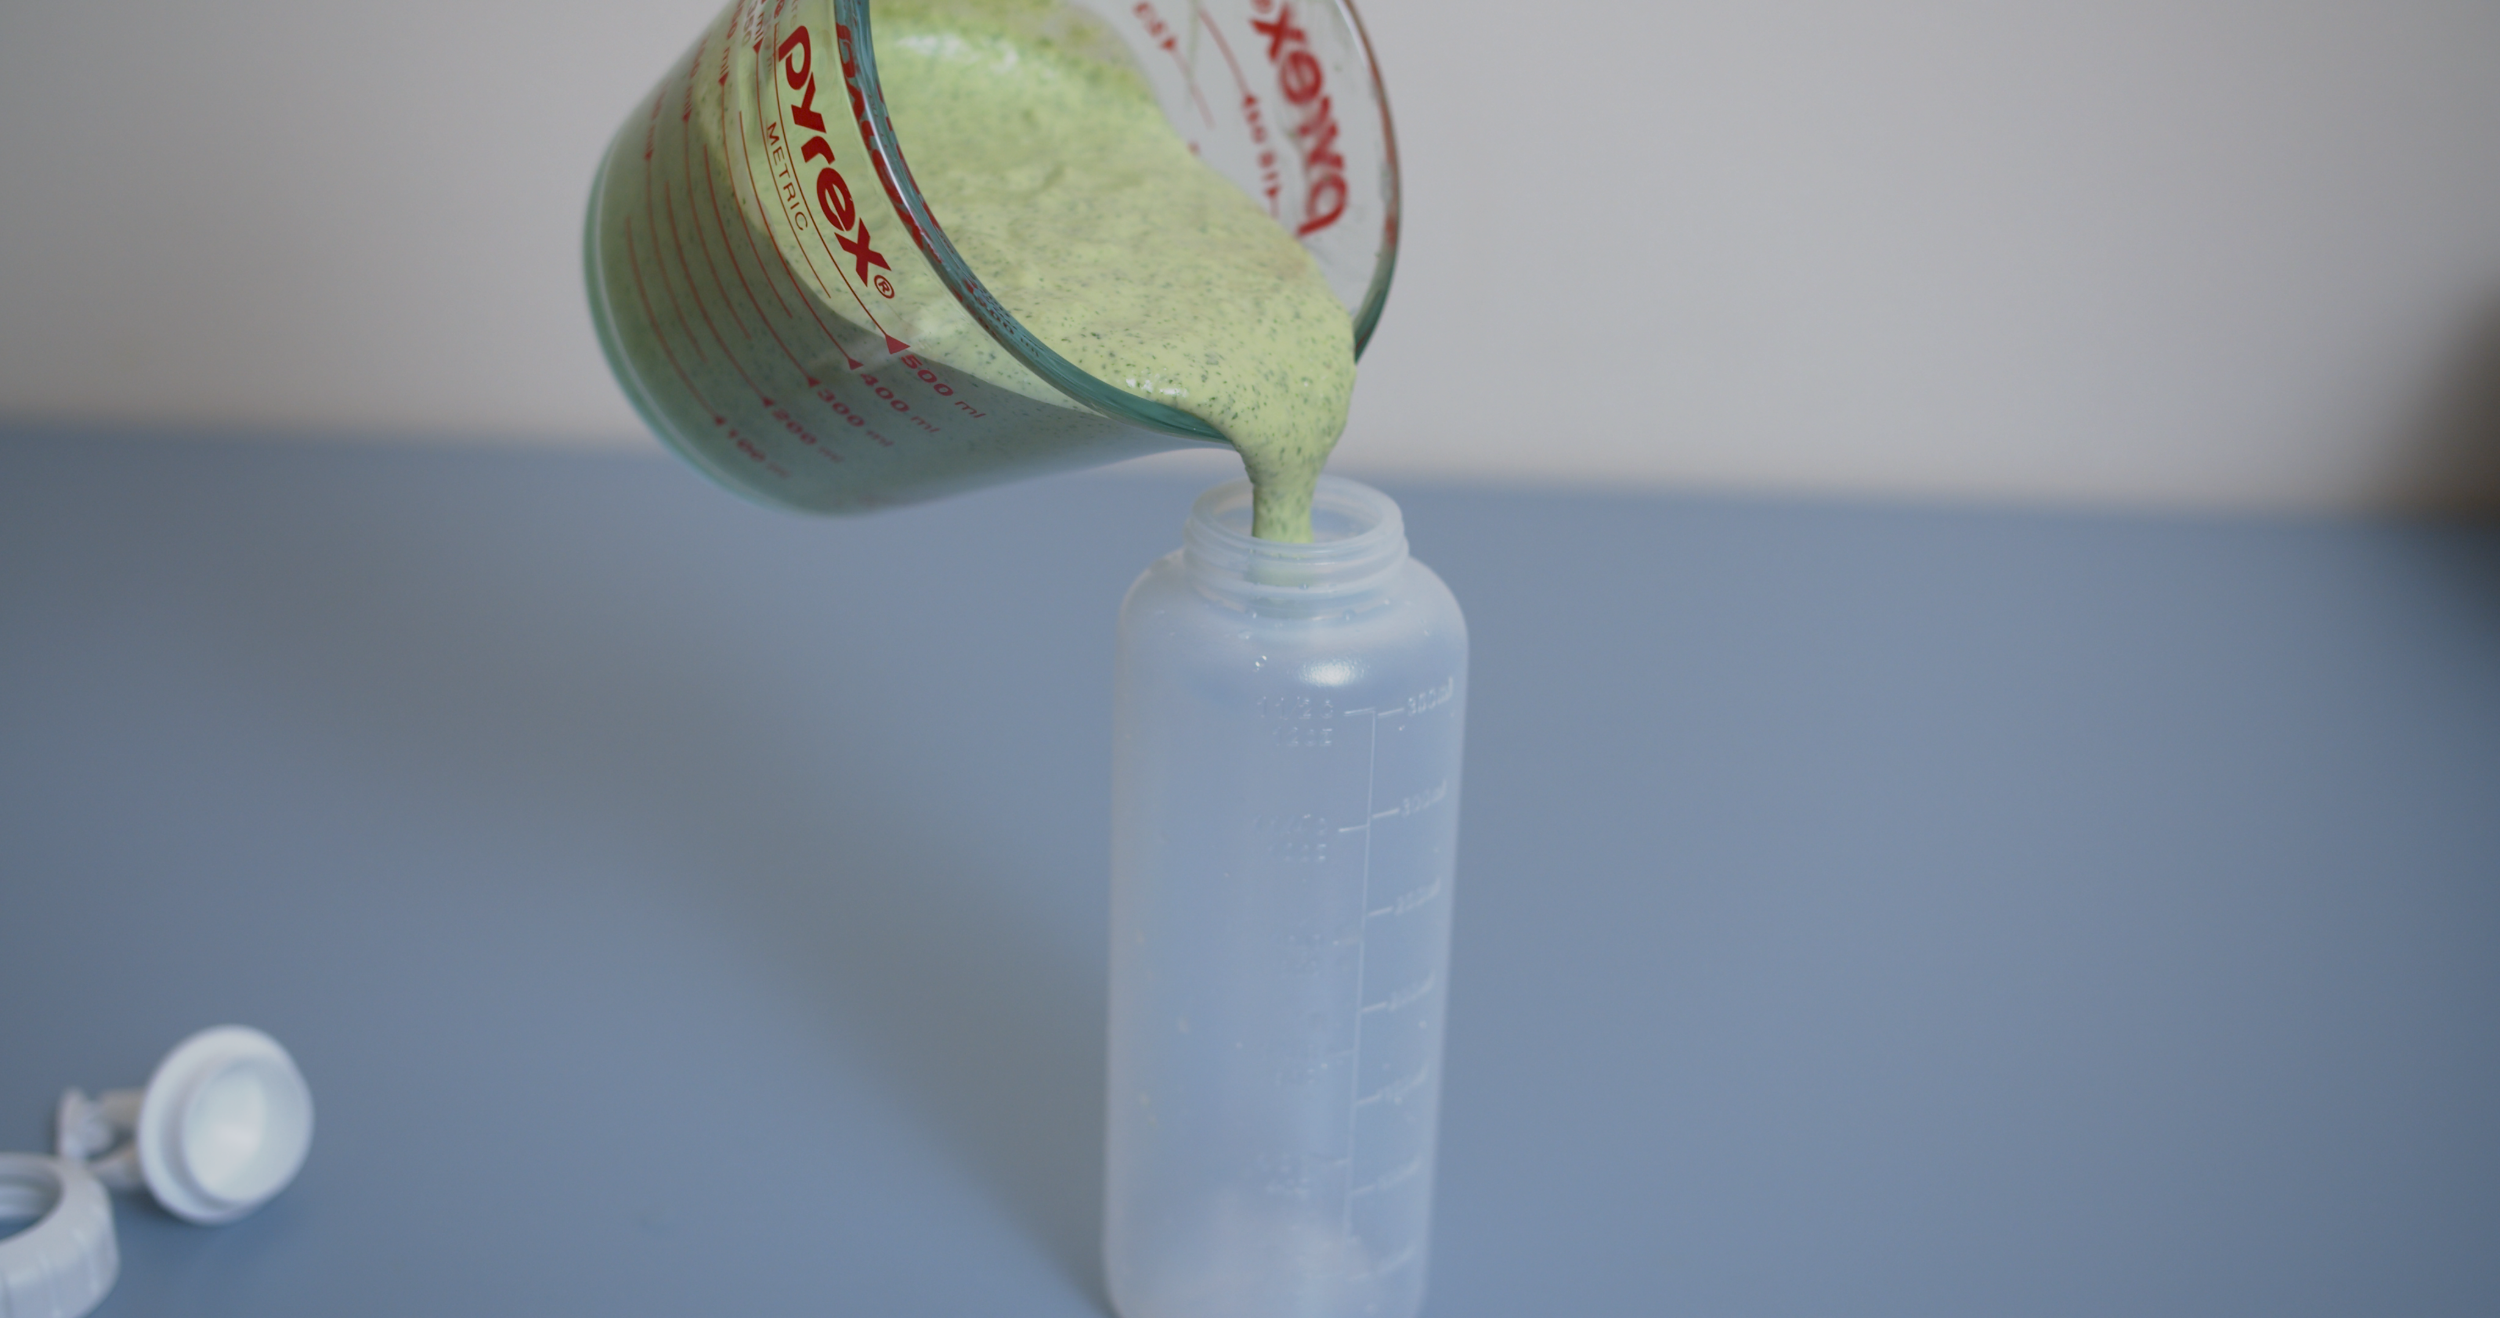
Just blendy blend this until it’s all nice and mixed up. I put mine into a squeeze bottle to help later on down the road, and that’s it for our secret sauce!
last min prep
While we are still waiting for the patties to freeze through, we should do some last bits of prep for the chalupa. Shred up some cheddar cheese, dice some tomatoes and chop up some lettuce.
The last thing we need to do before frying is, of course, to prepare the breading of the patties, which is so freakin easy. Now, to be honest, the naked chicken chalupa I had from Taco Bell was a little bland, so we are going to spice it up a little with our own spice mixture.
I used 1 tsp garlic powder, 1 tsp onion powder, 2 tsps of chili powder, 1/2 tsp cumin, and 1/4 tsp of msg. Mix these together with 1 cup of all purpose flour and that is it!
We also want to create a wet mix to dip our patties in, which is just 3 eggs mixed up real well.
cook the patties
Once our patties are fully frozen through, we can begin heating up our oil for frying.
I am going to use a cast iron skillet, but whatever you use, I really recommend using a pan with higher sides to avoid splattering.
Fill the pan up a few inches or centimeters with neutral oil, such as vegetable oil. And we want to heat it up to 350F or 176C.
While the oil heats up, it’s time to pull out our rock-hard chicken and begin the dippin’ process. First, dip a chicken in the egg yolks, then transfer into the flour mixture. When doing this, use one hand for wet and one hand for dry - this will help you keep your hands clean, as Chef John always recommends. Once you have coated the chicken one time, you can optionally coat again, but this isn’t necessary. Towards the end, I really perfected my breading game with a technique of tossing side to side, which is a lot easier and a lot less messy.
Now, as a note, I opted for the non meat-gluified chicken for the first set.
Once coated, as long as the oil is up to temp, go ahead and place the patty in the pan and let it fry. We wanna fry these for about 3 minutes and then give them a flip. Let it go for another 3 minutes, or until the center of the chicken reaches 165F or 74C.
Once it does, pull it out and set it on a paper towel lined tray. We wanna repeat this process for all of the chicken patties.
And if you are feeling bold/have the room, feel free to do multiple at a time. Just keep in mind that when doing so, the temperature of the oil may drop, and so it helps to stagger them as then the temp won’t drop too quickly.
Ok I fried up all six of these bad boys and that was that! Before they cool too much, it’s time to assemble.

Well, before we do, what was the result of the experiment between the non-meat glued version and the meat glued version.
results
Let’s start with the meat glued version. I cut through the chicken and found that it was extremely uniform, almost like a piece of salami or something, and really akin to what you get as a nugget at Mackey D’s. The taste was pretty spot on as well.
Next, let’s compare this to the non-meat glue version. With this one, there was a little separation of the chicken, and the flavor and texture really reminded me of the oven chicken nuggets you can buy in the freezer section of a grocery store.
With that being said, either version will work, but if you are into experimenting with your food, I do think this is a pretty fun test to do.
Assemble the chalupa
Alright, now let’s finish up our naked chicken chalupa.

Start with one chicken breast, and begin saucing with our bold avacado ranch.
Next, add some lettuce, tomatoes and shredded cheese.
Fold it up, and bam that’s it.
So, how was it? Actually really tasty. I really enjoyed the warm spicy flavor of the chicken breast, combined with the really fresh taste from the cilantro in the ranch.
I am not going to pretend this isn’t weird, eating a taco with chicken as it’s shell. However, I have definitely made weirder snacks in the middle of the night when I was hungry, so I guess I shouldn’t be casting stones at a glass house.
Thanks for reading!
Condensed Recipe:
Grind up the chicken with some salt
Split meat mixture into two halves and add transglutaminase to one half
Form all the meat into patties, mark the meat glue ones with a fork, and set them all in the freezer for 1 hour
Blend jalapenos, cilantro, lime juice, avocado and ranch, and set aside
Shred some cheese
Dice tomatoes
Chop lettuce into shreds
Combine spices and flour in a bowl to make dry spice mix
Crack eggs into a bowl to make wet mix
Heat oil in a pan to 350F or 176C
Dip each frozen chicken patty in wet mix, then dip in dry mix, until coated, and then fry for 3 mins on each side
Assemble chalupa: drizzle chicken patty with sauce, add cheese, tomatoes, and lettuce, and fold to eat
Links:
Condiment Squeeze Bottle: https://amzn.to/3ifJ87X
Food Processor: https://amzn.to/3ifJ87X
Kitchen Scale: https://amzn.to/3j6o9mZ
Meat Glue: https://amzn.to/3ye2tMf
Mixing Bowls: https://amzn.to/3j1TBmE
Lemon Juicer: https://amzn.to/2UWHJdD
Box Grater: https://amzn.to/3rjzDaB
Tongs: https://amzn.to/3ztwyrj
Cuisinart Burner: https://amzn.to/3xLyRFC
Lodge Iron Skillet: https://amzn.to/3j7esoq
Thermometer: https://amzn.to/3j6LTrm
Disclaimer: Some links are affiliate links.